Product
How to get over 10,000 records limit of HubSpot APIs?
HubSpot doesn't allow you to pull more than 10,000 rows using APIs. Here is a workaround that you can use to overcome this HubSpot limitation.
Table of Contents
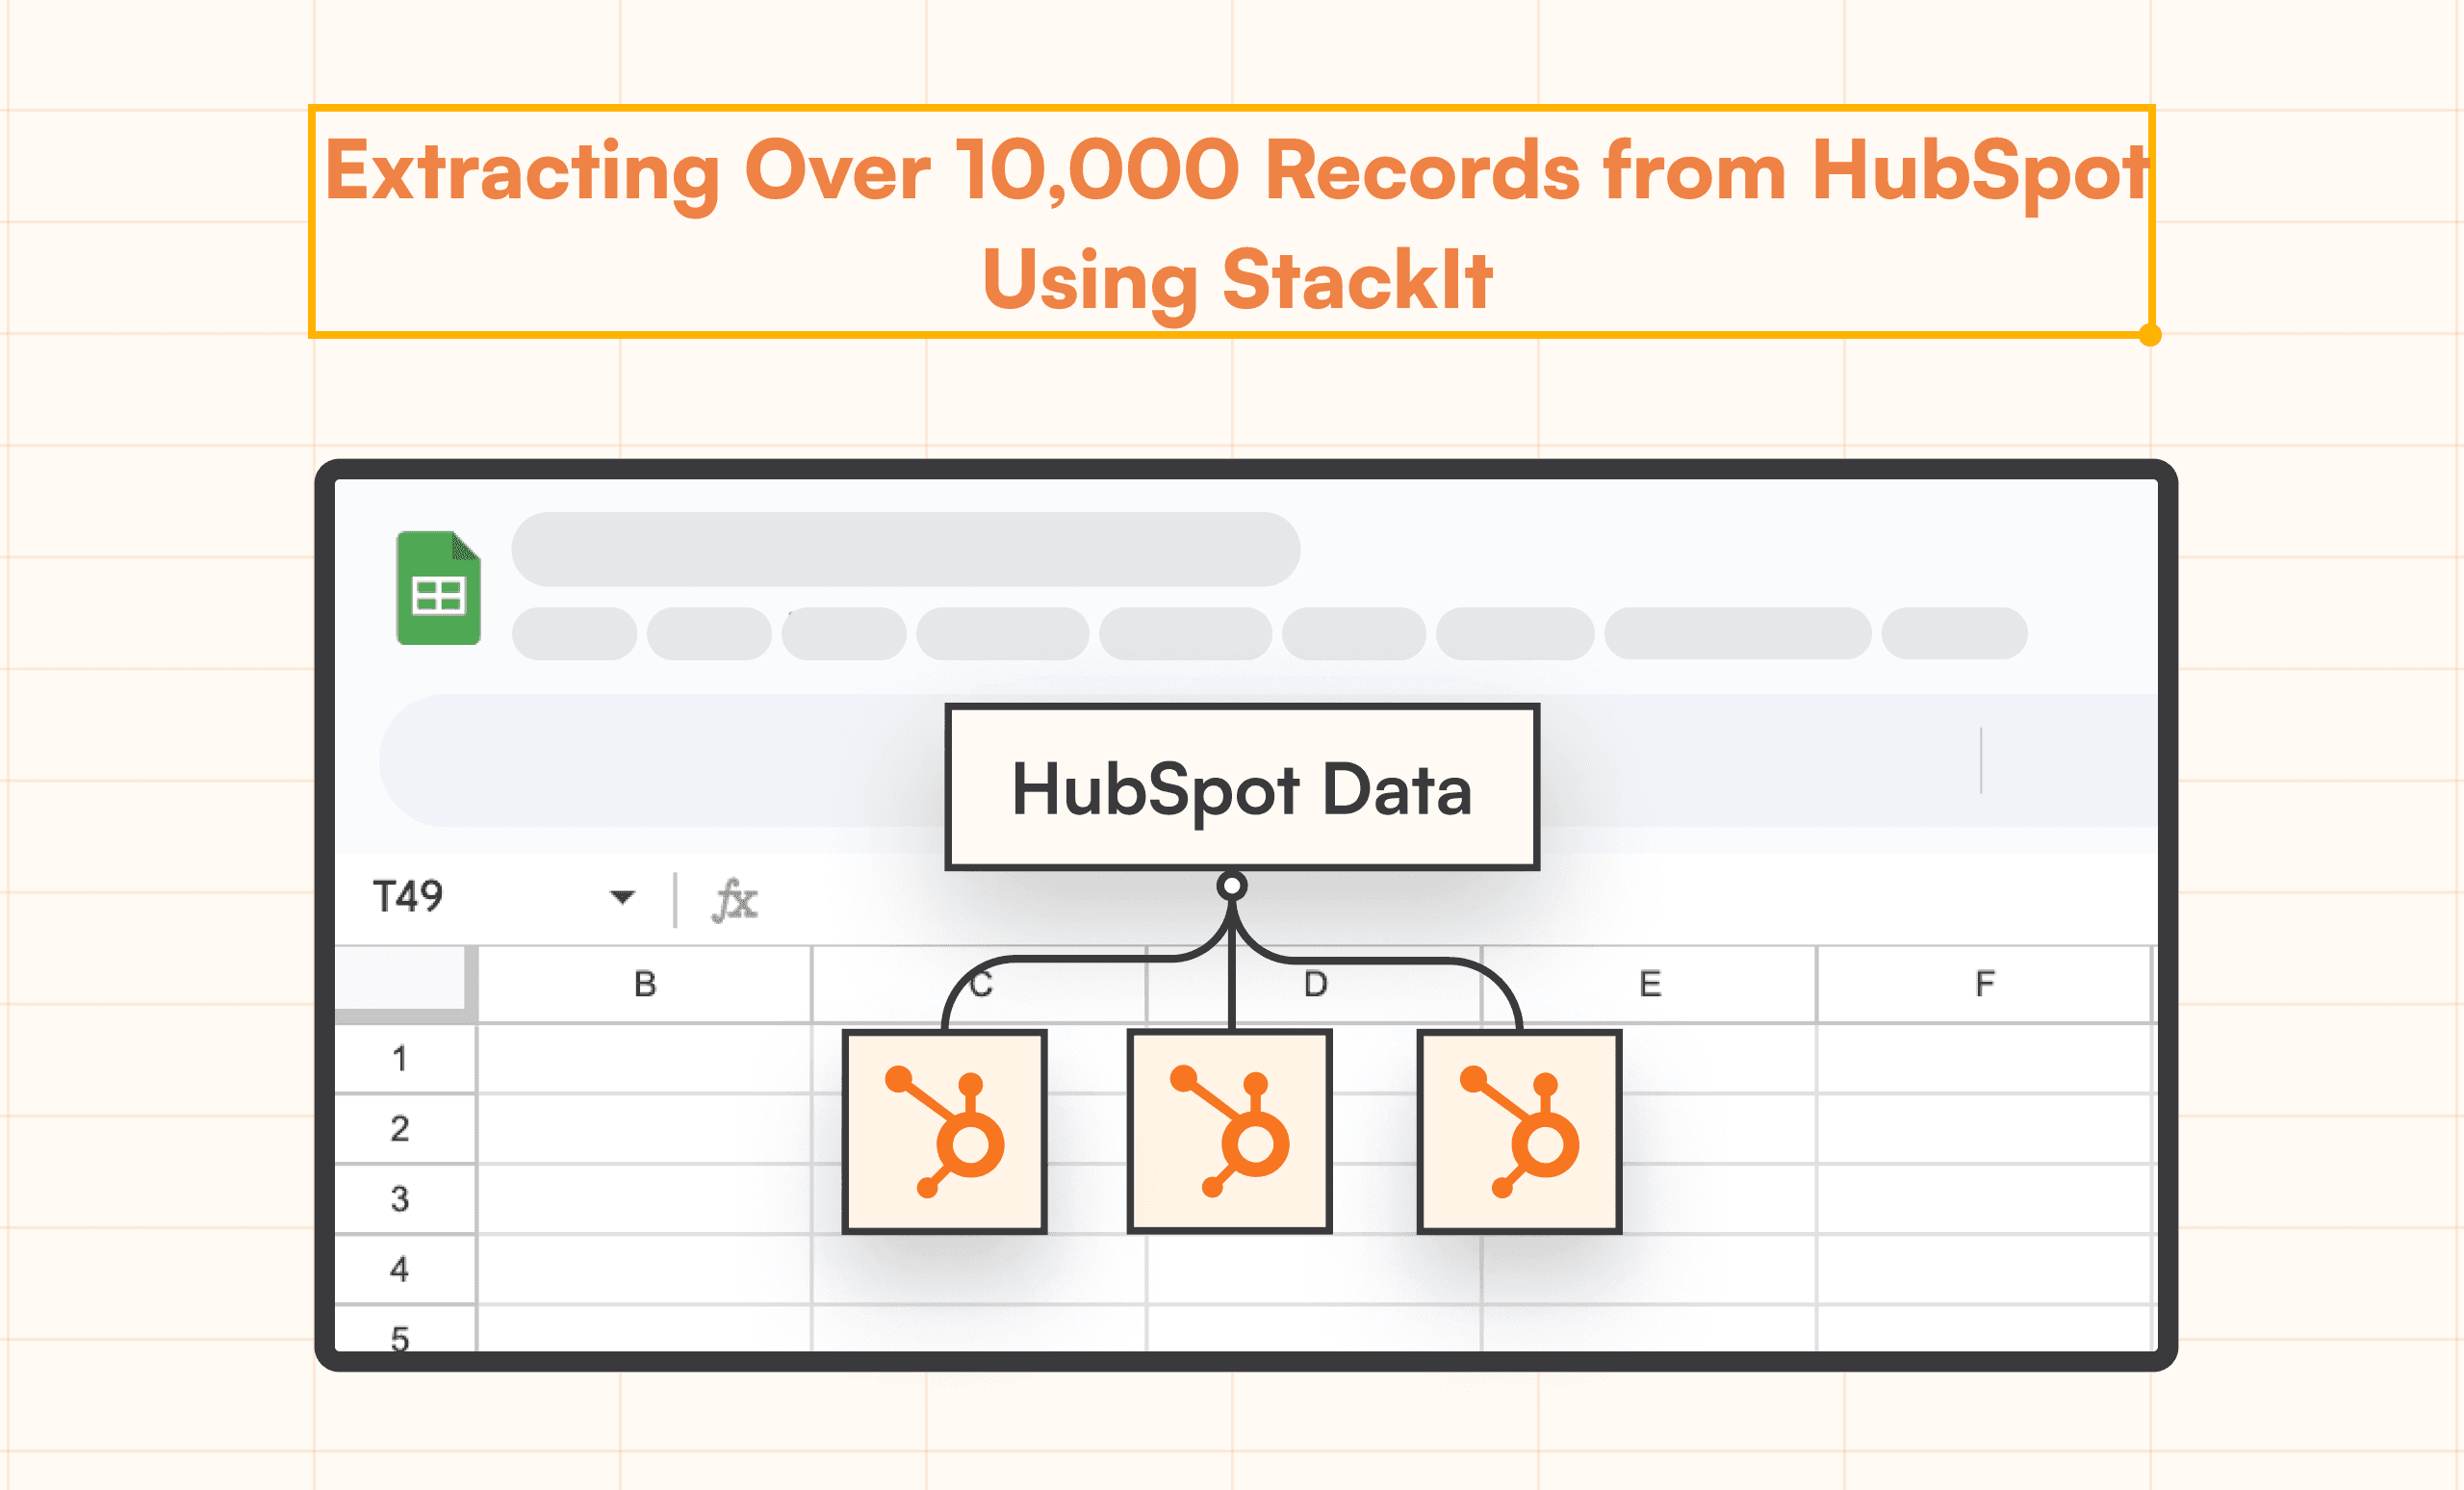
At StackIt, we've revolutionised the way you import data from HubSpot. While the standard HubSpot API limit caps data pulls at 10,000 records, StackIt uniquely allows you to seamlessly import over 40,000 rows of data, bypassing traditional limitations found elsewhere.
Unlike other tools, StackIt provides a solution that not only extends the default HubSpot API limit to 40,000 rows but also offers the flexibility to further extend this limit. Just write to us at support@nowstackit.com to pull data which is more than 40,000 rows.
We understand a lot of users using other products that use HubSpot API can't pull more than 10,000 rows of data. So we thought why don't we write a blog to help solve this problem
Getting around this problem is simple - Splitting HubSpot data exports into smaller, organized segments under 10,000 records each can solve this problem.
There are three methods to solve this 10,000 record problem:
Use StackIt to never face this issue.
Create separate sheets with records less than 10000 rows, and manually consolidate them.
Use our template to consolidate data automatically.
We created a simple template on Google Sheets that consolidates all these different data segments, removes identical rows(if any), and helps you get this data onto one sheet.
Need a Consolidated HubSpot Data Sheet?
A workaround for data pull limits is splitting your data exports from HubSpot using StackIt and merging them using Google Sheets. This might look like a tedious process, but we have shared two methods that make it super simple to consolidate your data.
Import 40000+ rows with StackIt.
Consolidating data using the QUERY Function of Google Sheets
Consolidating data using our template- We strongly recommend using this method, since we have handled all the edge cases and it's automated.
Guide to getting your data onto Google Sheets using StackIt
Getting live HubSpot data onto Google Sheets is easier than ever using StackIt, even when your data exceeds 10,000+ records.
Here are the steps to get data directly into Google Sheets:
Install StackIt and Connect to HubSpot
You can install StackIt directly on Google Sheets by searching for StackIt on Google Workspace Marketplace. You can follow the steps to install and launch StackIt in this video or this blog.
Connect to your Hubspot account on StackIt. See the guided video of how to connect to HubSpot on StackIt.
Figure out where your data limit exceeds
There are two ways to split your data if it exceeds the 10,000 rows export limit.
Manually figure out where your data export stops after exporting 10,000 records
Now, on StackIt, apply a filter to the date column using the date from which the export was truncated. This will allow you to export data from the truncated point onwards.

Creating splits of data in a way where you know data won't exceed the 10,000 record limit.
Create manual filters using your intuition where you know the data won't exceed 10,00 rows. For example, split the customer data into months based on the created at (date) field.

Once you have created these filters, import the data into Google Sheets using StackIt by Clicking on Import Data. Repeat this process until all your data has been exported to Google Sheets.
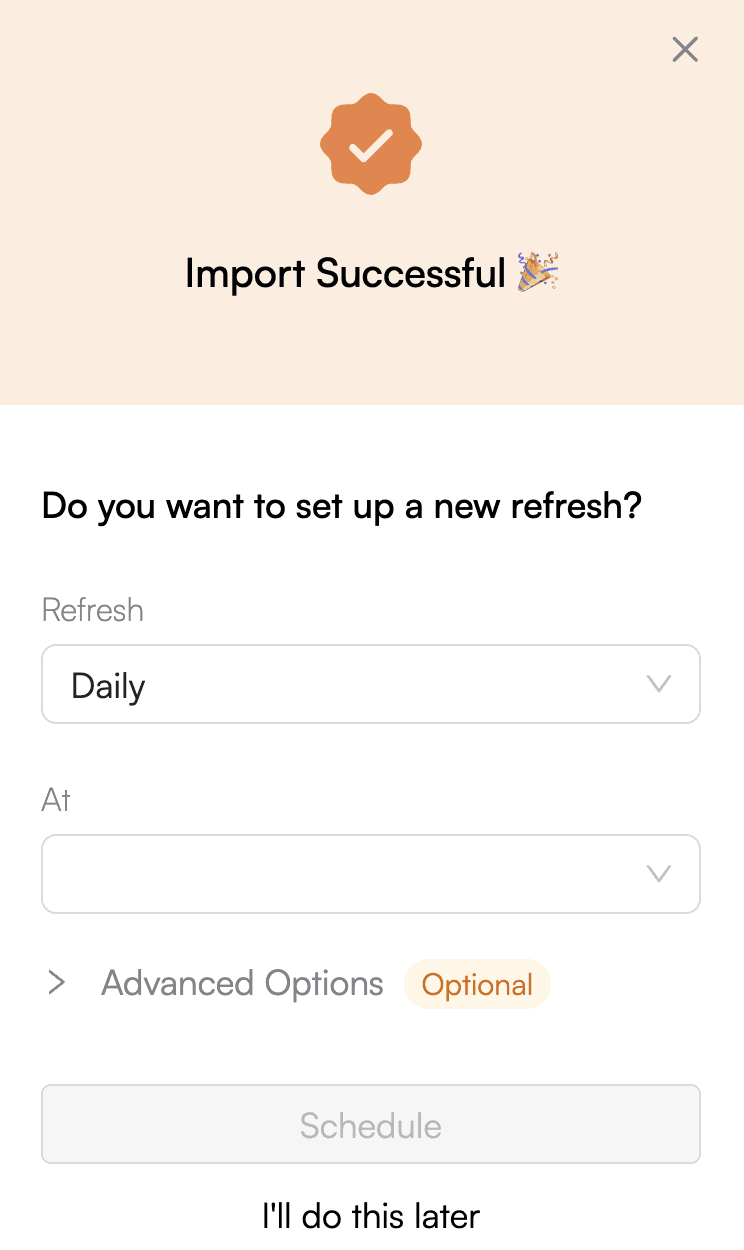
Set up Auto-Refresh
Once you have exported your data, you can configure Auto-Refresh schedules for your data imports. This will allow you to receive updated data on your Google Sheets automatically. Auto-Refresh creates data pull schedules to directly get your HubSpot data into your Google Sheets.
Create Consolidated HubSpot Data Sheets
Use our Data Consolidating Sheet
If you prefer a quicker, less hands-on method, use our pre-made Data Consolidating Template to merge your data automatically. Ideal for saving time and effort.
You can start using this template in 4 easy steps
Step 1: Using the template link, make a copy of this template by clicking on "Make a Copy".

Step 2: Now on your copy of this template, Launch StackIt and import your segmented data from HubSpot.
Step 3: Once you have imported all your data, paste the sheet names in the Configuration Sheet along with the columns you want to merge.

Step 4: After you do that, go to the Consolidated Datasheet and click on the Consolidate Data button.

If you get the message to authorize permissions, click on OK.Once you do that, Viola! Your data has been merged.
Use Query Function to merge Segmented Data
Create a new sheet in your spreadsheet and name it "Consolidated HubSpot Data Sheet".
On the A1 Column, use this formula template to get consolidated and unique data onto your final sheet
=QUERY({Sheet1!A:D; Sheet2!A:D; Sheet3!A:D,....}, "select * where Col1 is not null", 1)Array Construction {}: The curly braces create an array in Google Sheets. This allows you to stack the data from Sheet1, Sheet2, etc. The semicolon ";" is used to stack data vertically.
Sheet Range Sheet1!A:D: This specifies that we take all rows and columns A to D from Sheet1. You would adjust this range according to your actual data columns.
QUERY Function: The QUERY function executes a query on the data. Here’s what each part does:
select *: This selects all columns from the combined data.where Col1 is not null: This condition filters out any rows where the first column (assumed to be the Date in this setup) is empty. This helps ignore any empty rows that might be present in each sheet.1: This indicates that the data includes one header row, which the QUERY function will use for determining column labels.
Conclusion
Pulling more than 10,000 records from HubSpot is no longer a challenge with StackIt. We make it straightforward to handle large datasets by importing up to 40,000 records, with the option to customize this limit for your specific needs. StackIt not only fits within HubSpot's standard limits but also expands them, ensuring your data is comprehensive and continuously updated. StackIt helps you split your data into smaller chunks that fit under HubSpot's limit and automatically puts it into Google Sheets for you. Just set it up, and StackIt will keep your sheets updated without you having to lift a finger.
At StackIt, we've revolutionised the way you import data from HubSpot. While the standard HubSpot API limit caps data pulls at 10,000 records, StackIt uniquely allows you to seamlessly import over 40,000 rows of data, bypassing traditional limitations found elsewhere.
Unlike other tools, StackIt provides a solution that not only extends the default HubSpot API limit to 40,000 rows but also offers the flexibility to further extend this limit. Just write to us at support@nowstackit.com to pull data which is more than 40,000 rows.
We understand a lot of users using other products that use HubSpot API can't pull more than 10,000 rows of data. So we thought why don't we write a blog to help solve this problem
Getting around this problem is simple - Splitting HubSpot data exports into smaller, organized segments under 10,000 records each can solve this problem.
There are three methods to solve this 10,000 record problem:
Use StackIt to never face this issue.
Create separate sheets with records less than 10000 rows, and manually consolidate them.
Use our template to consolidate data automatically.
We created a simple template on Google Sheets that consolidates all these different data segments, removes identical rows(if any), and helps you get this data onto one sheet.
Need a Consolidated HubSpot Data Sheet?
A workaround for data pull limits is splitting your data exports from HubSpot using StackIt and merging them using Google Sheets. This might look like a tedious process, but we have shared two methods that make it super simple to consolidate your data.
Import 40000+ rows with StackIt.
Consolidating data using the QUERY Function of Google Sheets
Consolidating data using our template- We strongly recommend using this method, since we have handled all the edge cases and it's automated.
Guide to getting your data onto Google Sheets using StackIt
Getting live HubSpot data onto Google Sheets is easier than ever using StackIt, even when your data exceeds 10,000+ records.
Here are the steps to get data directly into Google Sheets:
Install StackIt and Connect to HubSpot
You can install StackIt directly on Google Sheets by searching for StackIt on Google Workspace Marketplace. You can follow the steps to install and launch StackIt in this video or this blog.
Connect to your Hubspot account on StackIt. See the guided video of how to connect to HubSpot on StackIt.
Figure out where your data limit exceeds
There are two ways to split your data if it exceeds the 10,000 rows export limit.
Manually figure out where your data export stops after exporting 10,000 records
Now, on StackIt, apply a filter to the date column using the date from which the export was truncated. This will allow you to export data from the truncated point onwards.
Creating splits of data in a way where you know data won't exceed the 10,000 record limit.
Create manual filters using your intuition where you know the data won't exceed 10,00 rows. For example, split the customer data into months based on the created at (date) field.
Once you have created these filters, import the data into Google Sheets using StackIt by Clicking on Import Data. Repeat this process until all your data has been exported to Google Sheets.
Set up Auto-Refresh
Once you have exported your data, you can configure Auto-Refresh schedules for your data imports. This will allow you to receive updated data on your Google Sheets automatically. Auto-Refresh creates data pull schedules to directly get your HubSpot data into your Google Sheets.
Create Consolidated HubSpot Data Sheets
Use our Data Consolidating Sheet
If you prefer a quicker, less hands-on method, use our pre-made Data Consolidating Template to merge your data automatically. Ideal for saving time and effort.
You can start using this template in 4 easy steps
Step 1: Using the template link, make a copy of this template by clicking on "Make a Copy".
Step 2: Now on your copy of this template, Launch StackIt and import your segmented data from HubSpot.
Step 3: Once you have imported all your data, paste the sheet names in the Configuration Sheet along with the columns you want to merge.
Step 4: After you do that, go to the Consolidated Datasheet and click on the Consolidate Data button.
If you get the message to authorize permissions, click on OK.Once you do that, Viola! Your data has been merged.
Use Query Function to merge Segmented Data
Create a new sheet in your spreadsheet and name it "Consolidated HubSpot Data Sheet".
On the A1 Column, use this formula template to get consolidated and unique data onto your final sheet
=QUERY({Sheet1!A:D; Sheet2!A:D; Sheet3!A:D,....}, "select * where Col1 is not null", 1)Array Construction {}: The curly braces create an array in Google Sheets. This allows you to stack the data from Sheet1, Sheet2, etc. The semicolon ";" is used to stack data vertically.
Sheet Range Sheet1!A:D: This specifies that we take all rows and columns A to D from Sheet1. You would adjust this range according to your actual data columns.
QUERY Function: The QUERY function executes a query on the data. Here’s what each part does:
select *: This selects all columns from the combined data.where Col1 is not null: This condition filters out any rows where the first column (assumed to be the Date in this setup) is empty. This helps ignore any empty rows that might be present in each sheet.1: This indicates that the data includes one header row, which the QUERY function will use for determining column labels.
Conclusion
Pulling more than 10,000 records from HubSpot is no longer a challenge with StackIt. We make it straightforward to handle large datasets by importing up to 40,000 records, with the option to customize this limit for your specific needs. StackIt not only fits within HubSpot's standard limits but also expands them, ensuring your data is comprehensive and continuously updated. StackIt helps you split your data into smaller chunks that fit under HubSpot's limit and automatically puts it into Google Sheets for you. Just set it up, and StackIt will keep your sheets updated without you having to lift a finger.
FAQs
What is the 10,000 record limit in HubSpot APIs?
What is the 10,000 record limit in HubSpot APIs?
How can StackIt help overcome the HubSpot API limit?
How can StackIt help overcome the HubSpot API limit?
What are the steps to get HubSpot data onto Google Sheets using StackIt?
What are the steps to get HubSpot data onto Google Sheets using StackIt?
Automatic Data Pulls
Visual Data Preview
Set Alerts
other related blogs

Try it now