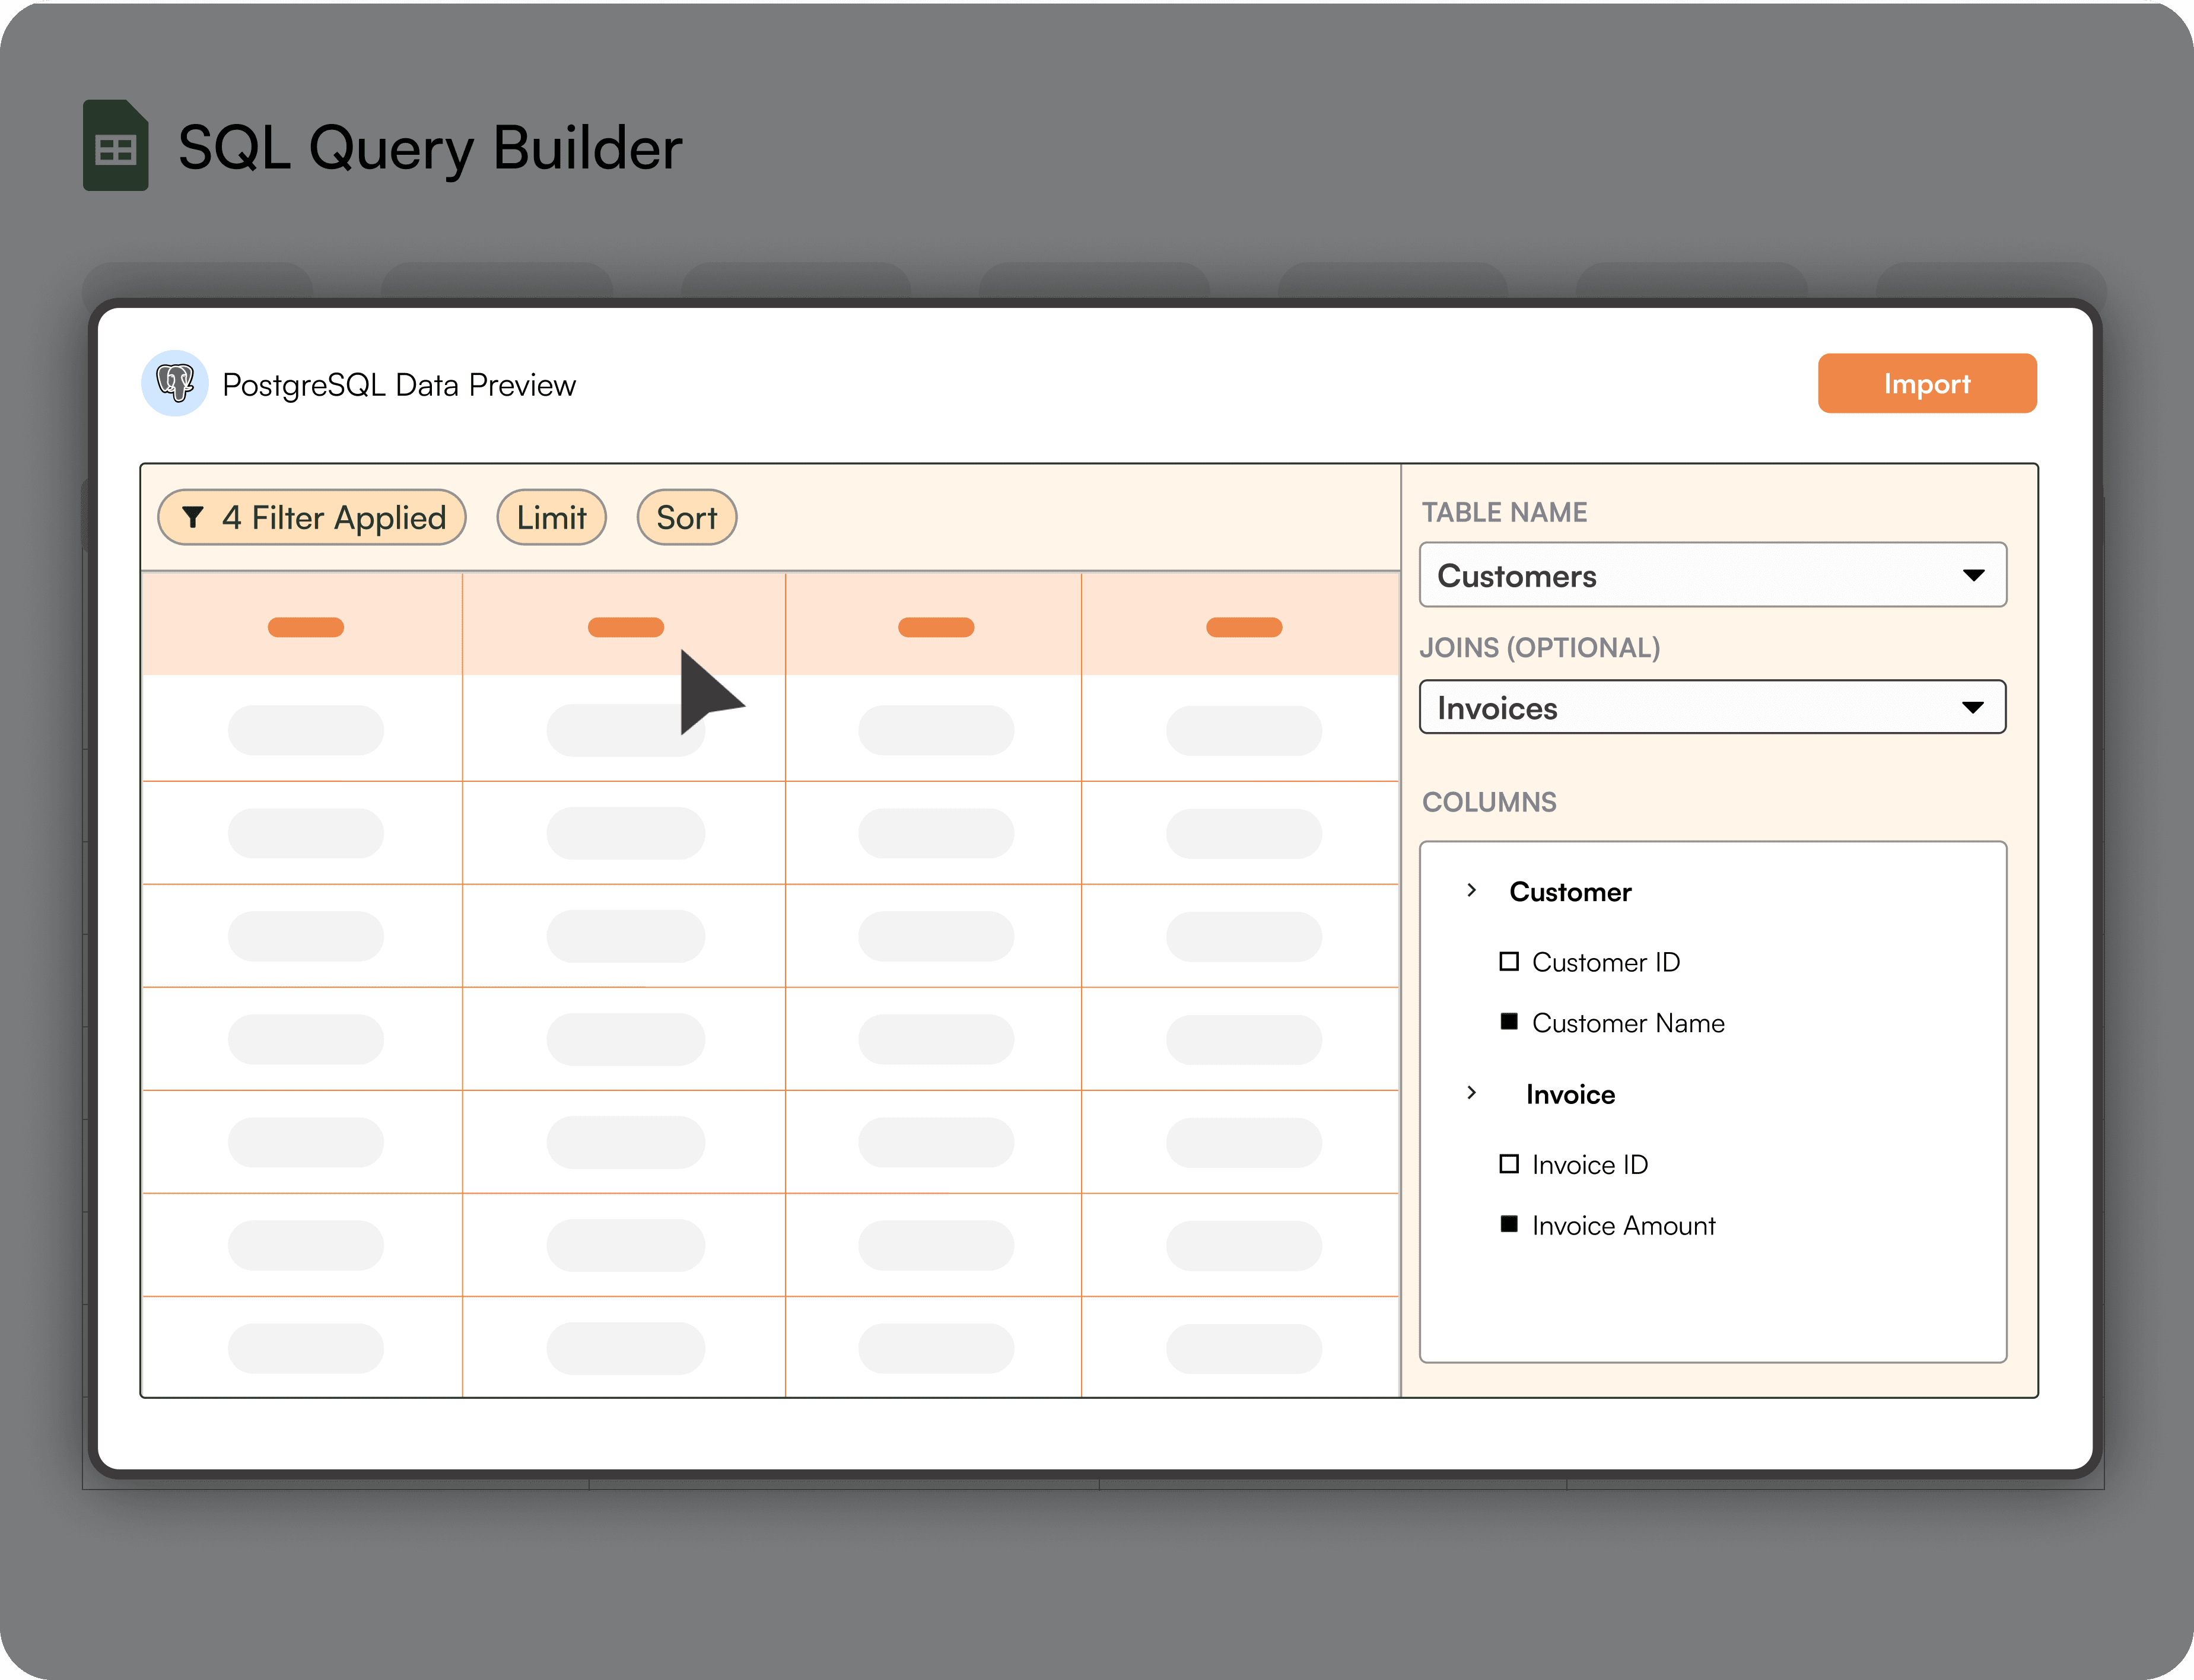
Step-by-Step Walkthrough: How to Connect Redshift to Google Sheets
Here’s a step-by-step overview of how to connect StackIt to Google Sheets using StackIt’s new connector.
Step 1: Click Extensions from the Google Sheets menu. Select Add-ons and choose to Get Add-ons. This will bring you to the Google Workspace Marketplace.

Step 2: Look for StackIt in the Google Marketplace pop-up window and install the app by following the prompts.

After installing StackIt, go back to Google Sheets.
Step 3: Once you are on Google Sheets, go to "Extensions", you will see StackIt there. Launch StackIt from there.
If StackIt is not visible, wait for 10 seconds for Google Sheets to load completely.

You should see StackIt running as a Google Sheets side panel on the right side of your screen. Click on "Connect your first source"

Step 4: Select Redshift from the list.

Step 5: Once you have selected Redshift, enter your host, database username, password, port, and IP address.
In some cases, you might have to whitelist our IP address. Talk to your system admin, DevOps, or engineering head to whitelist the IP and click on connect.

Step 6: Write a SQL query into the text box and click on “Import Data”.

Step 7: And that's it! You now have your Redshift data in Google Sheets. Without even writing a single line of code. Now let's set up refresh schedules.

Step 8: StackIt lets you refresh your imported data instantly with one click or set it to auto-refresh on a pre-set schedule.
This way, you won’t need to manually update your Redshift data in Google Sheets to reflect changes from the source.

Voila, you've successfully imported your Redshift data to Google Sheets using StackIt! StackIt offers a more accessible, secure, and efficient solution for those looking to integrate Redshift with Google Sheets without having to delve into code. With StackIt, you can ensure that your data handling capabilities are both robust and user-friendly.