PostgreSQL
Connect PostgreSQL to Google Sheets in one-click
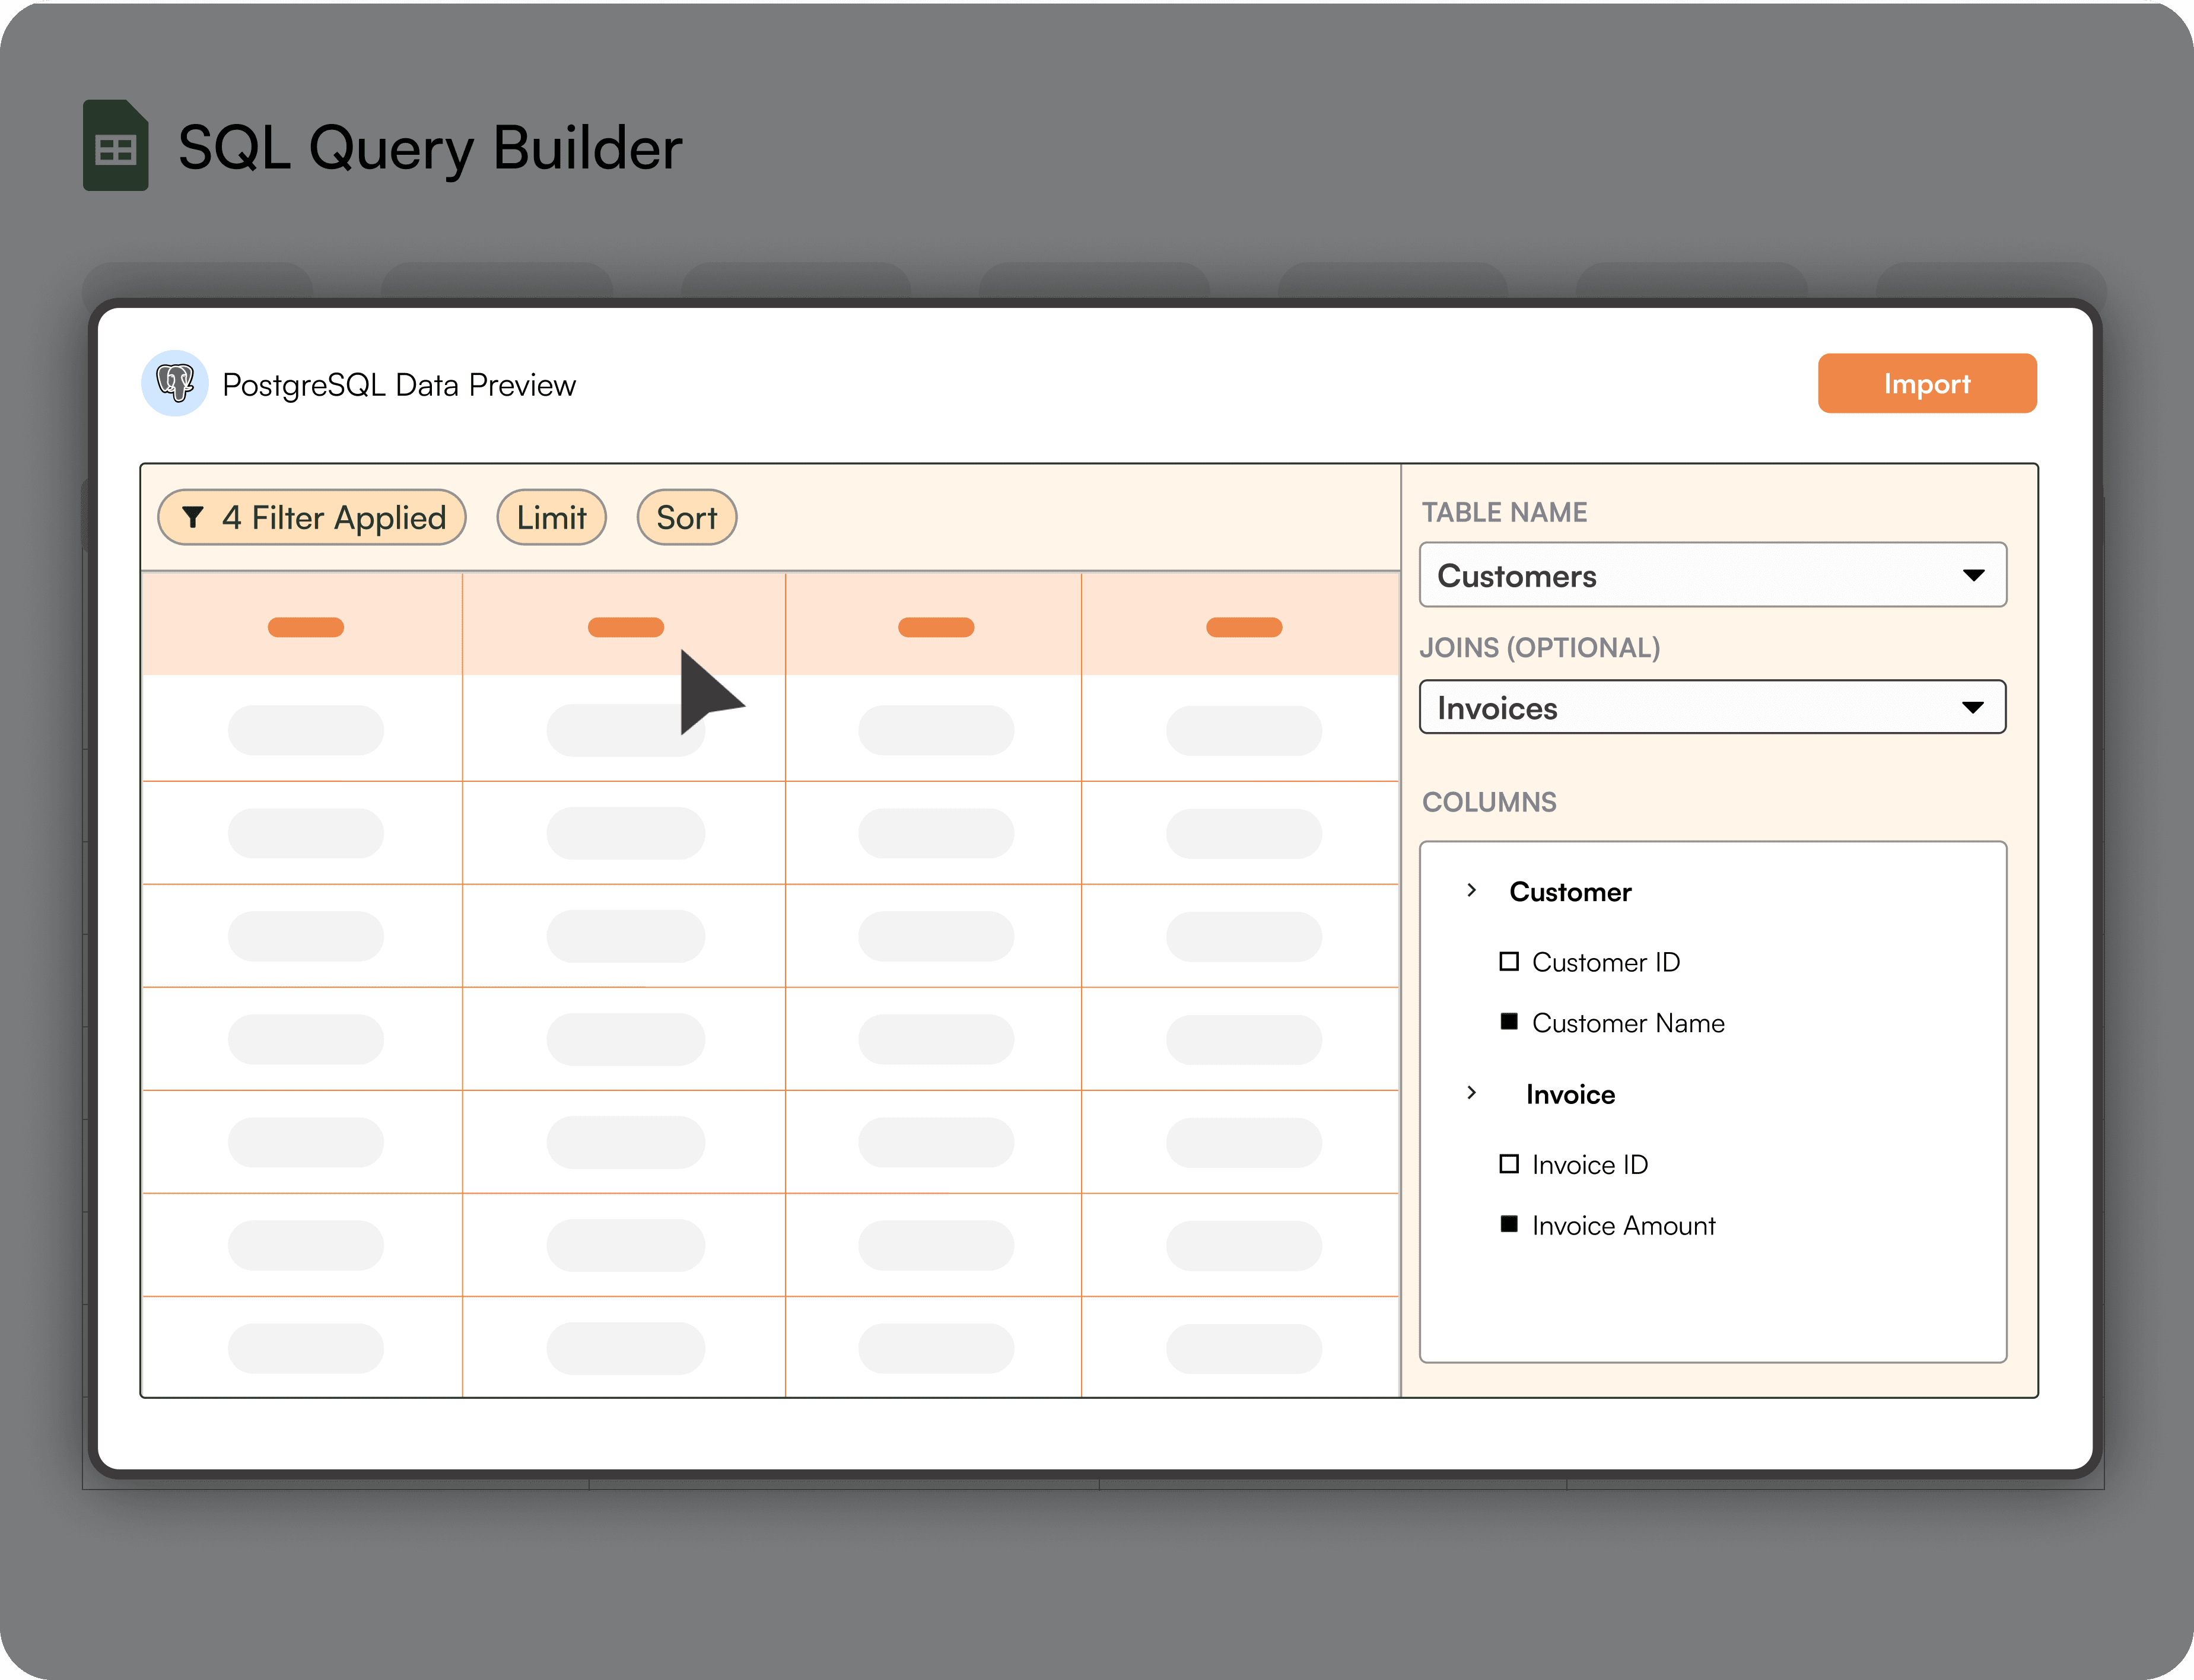
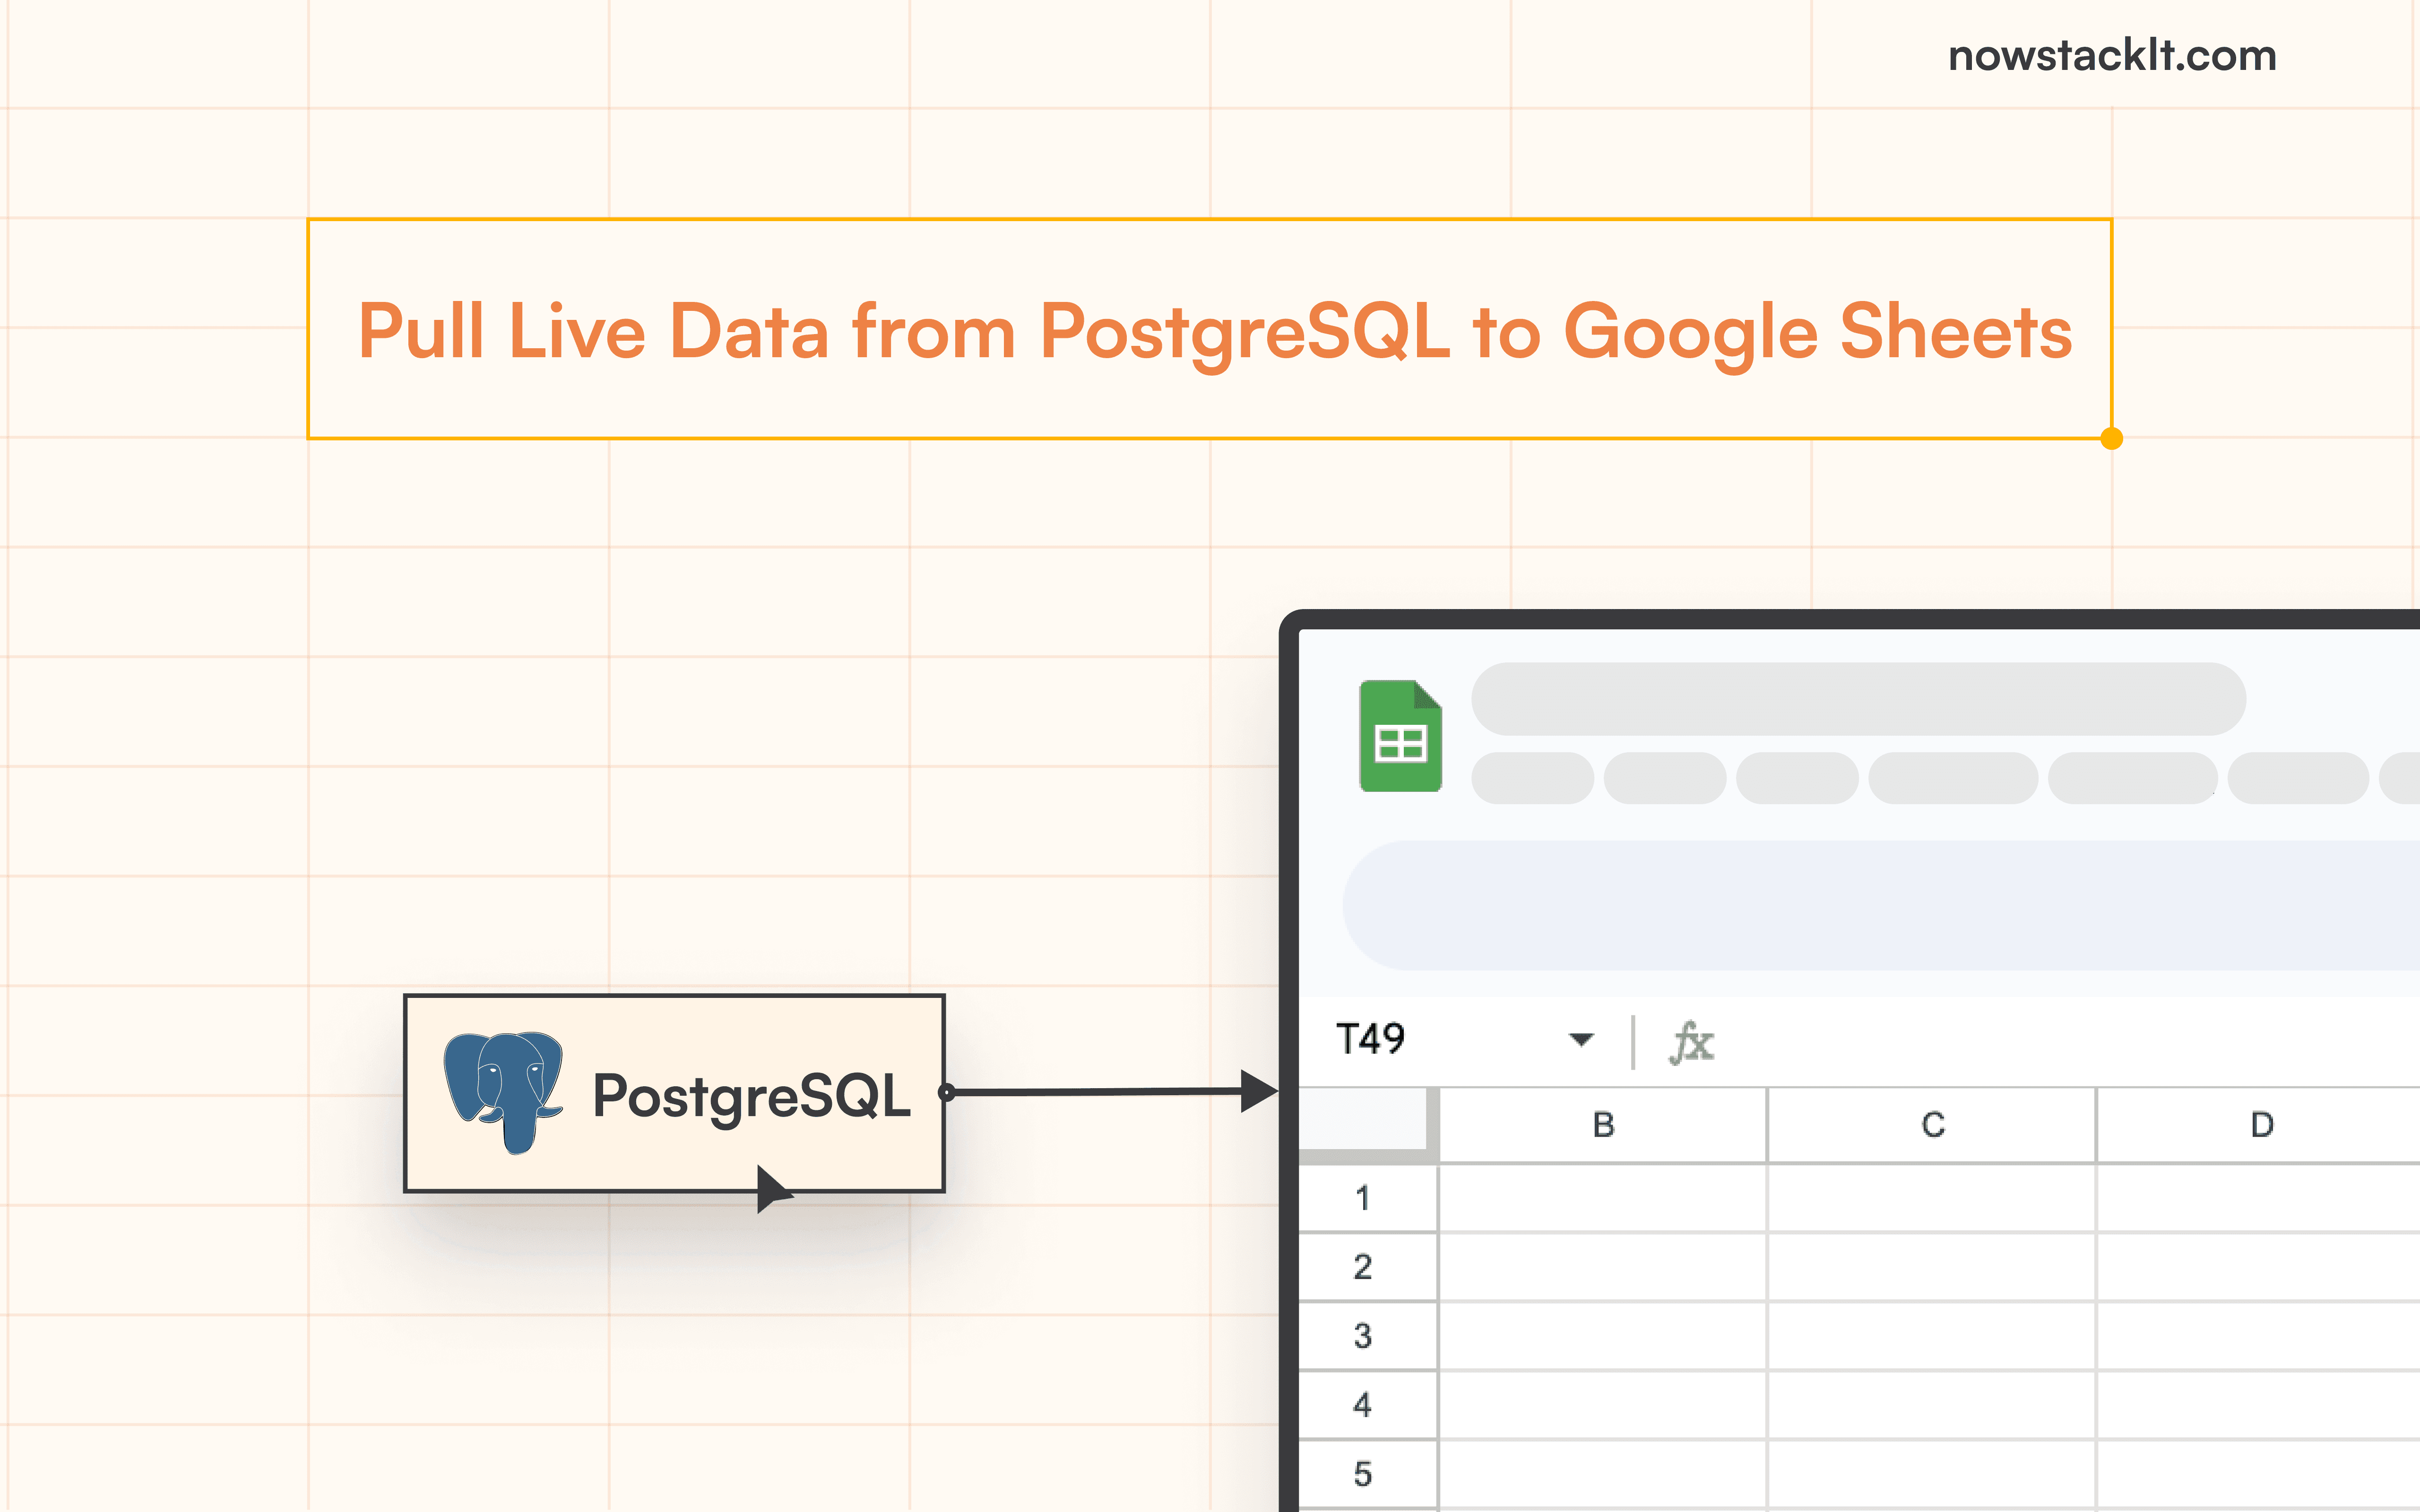
Automatically pull live data from PostgreSQL to Google Sheets
PostgreSQL
Connect PostgreSQL to Google Sheets in one-click
Automatically pull live data from PostgreSQL to Google Sheets
PostgreSQL
Connect PostgreSQL to Google Sheets in one-click
Automatically pull live data from PostgreSQL to Google Sheets

features
features
features
Unleash the Power of Analytics with StackIt
Unleash the Power of Analytics with StackIt
Unleash the Power of Analytics with StackIt


other related blogs
Related Dashboards
other related blogs