Google Sheets Tutorial
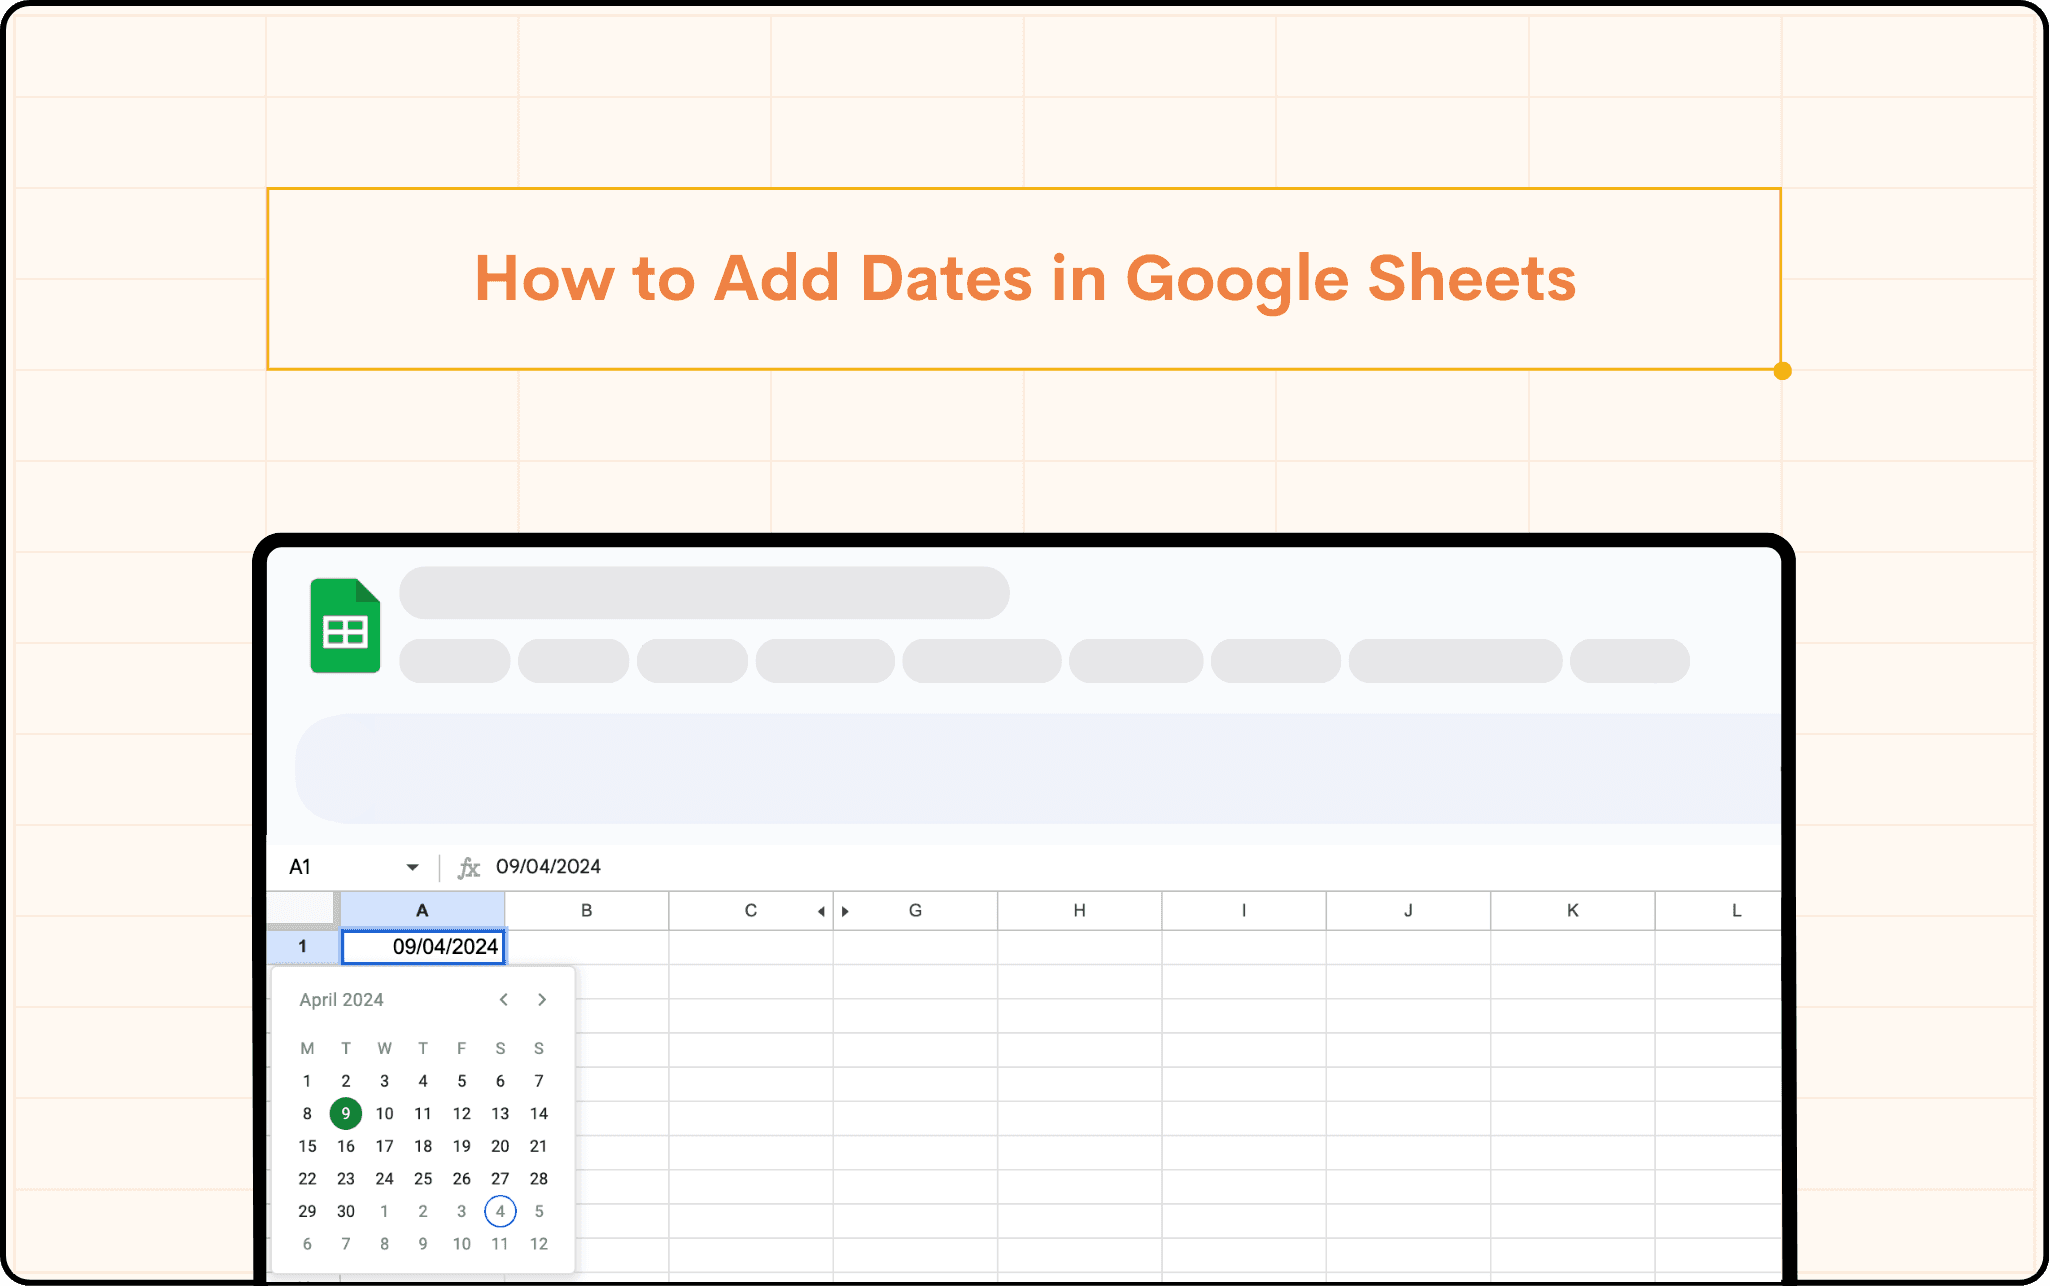
How to Add Dates in Google Sheets: A Comprehensive Guide
Let’s explore how to insert dates in Google Sheets in this comprehensive guide.
Table of Contents
If you're working with data in Google Sheets, chances are you'll need to include dates at some point. Dates are crucial for tracking deadlines, monitoring progress, and performing date-based calculations. But how exactly do you add dates in Google Sheets? Fear not, spreadsheet warriors! This comprehensive guide will walk you through various methods for incorporating dates into your spreadsheets, ensuring accuracy and efficiency.
Here is a video demonstrating how you can add the date to a Google Sheet:
Adding the Current Date
There are two primary ways to insert the current date into a Google Sheet cell: using keyboard shortcuts or the TODAY() function.
Keyboard Shortcuts
The speed demons among you will appreciate this handy trick. Simply select the cell where you want to insert the current date and press the following key combinations:
Windows: Ctrl+; (semicolon)
Mac: Cmd+; (semicolon)
This shortcut automatically populates the cell with the current date in your system's default date format.
TODAY() Function
For more control, consider using the TODAY() function. This function returns the current date as a serial number, which Google Sheets then interprets and displays according to your system's date format. To use the TODAY() function:
Select the cell where you want to display the current date.
Type =TODAY() in the formula bar.
Press Enter.
The cell will now display the current date. Remember, the TODAY() function updates automatically whenever you open the spreadsheet, ensuring you always have the latest date.
Entering Dates Manually
While shortcuts and functions are convenient, sometimes you need to enter specific dates manually. Google Sheets is flexible when it comes to date formats. You can enter dates in a variety of ways, including:
MM/DD/YYYY (e.g., 12/31/2023)
DD-MM-YYYY (e.g., 31-12-2023)
YYYY-MM-DD (e.g., 2023-12-31)
As soon as you type a date in a recognized format, Google Sheets will automatically convert it to a serial number and display it according to your system's settings.
Formatting Considerations
While Google Sheets is generally good at interpreting dates, there can be occasional hiccups depending on your system's date format settings. To avoid confusion, it's recommended to use a consistent format throughout your spreadsheet. You can adjust the default date format in Google Sheets by following these steps:
Go to File > Settings.
Under the General tab, locate the Locale section.
From the Date format drop-down menu, select your preferred format.
Click Save.
Creating Dates with Formulas
Need to create a specific date that isn't the current date? Google Sheets offers the DATE() function for this purpose. The DATE() function takes three arguments: year, month, and day. Here's the syntax:
=DATE(year, month, day)
For example, to enter the date December 31, 2023, you would use the following formula:
=DATE(2023, 12, 31)
This formula instructs Google Sheets to create a date object representing December 31, 2023.
Examples of Using the DATE() Function
The DATE() function opens doors to various date manipulation possibilities. Here are a few examples:
Calculate future dates:
There are multiple ways to calculate future dates in Google Sheets, depending on your specific needs. Here are a few methods:
Adding a fixed number of days: This is the simplest approach. You can use the + operator to add a specific number of days to a starting date. For instance, to find the date five days from today, you could use the following formula:
=TODAY() + 5
The TODAY() function retrieves the current date, and adding 5 to it calculates the date five days in the future.
Using the DATE() function with TODAY(): This method allows you more control over the specific year, month, and day of the future date. Imagine you want to calculate the deadline for a project that's due 3 months from now on the 15th of the month. Here's the formula:
=DATE(YEAR(TODAY()), MONTH(TODAY())+3, 15)
This formula extracts the current year and month using YEAR() and MONTH(), adds 3 to the month to arrive at the target month three months from now, and sets the day to 15.
Adding business days: If you need to calculate the date a certain number of business days (weekdays excluding weekends) from a starting date, Google Sheets offers the WORKDAY() function. The syntax is:
=WORKDAY(start_date, days)
For example, to find the date 10 business days from today, assuming weekends are Saturdays and Sundays, you could use:
=WORKDAY(TODAY(), 10)
Using EOMONTH(): This function comes in handy when you need to calculate the last day of a future month relative to a starting date. The syntax is:
=EOMONTH(start_date, months)
Let's say you want to find the due date for a payment that falls on the last day of the month two months from now. Here's the formula:
=EOMONTH(TODAY(), 2)
By incorporating these methods, you can effectively calculate a wide range of future dates in Google Sheets.
Calculate past dates:
Subtract days from a starting date. Let's say you want to know the date three months ago from today. Here's the formula:
=DATE(YEAR(TODAY()), MONTH(TODAY())-3, DAY(TODAY()))
This formula uses the YEAR(), MONTH(), and DAY() functions to extract the current year, month, and day, then subtracts 3 from the month value to arrive at the date three months prior.
Related: How to Subtract in Google Sheets
Combine DATE() with other functions:
Google Sheets allows you to combine the DATE() function with other functions for more complex calculations. Imagine you have a list of due dates with corresponding invoice numbers. You can use the VLOOKUP function to find the due date for a specific invoice number and then add a late fee based on the number of days overdue. The DATE() function becomes a crucial component in such scenarios.
Adding Dates from a Drop-Down List
For situations where you want to restrict users to select dates from a predefined range, data validation comes in handy. Here's how to create a drop-down list for date selection:
Select the cell range where you want to allow users to choose dates.
Go to Data > Data validation.
In the Criteria section, leave the drop-down menu set to Date is between.
Enter a starting and ending date for your range in the Value or formula text fields.
In the advanced options choose Reject the input.
Click Save.
Now, when users click on a cell within the selected range, they'll see a drop-down calendar. If they choose a date outside of your range then a dialog box pops up indicating the problem with the entered data. This ensures consistency and reduces errors in data entry.
Tips for Working with Dates in Google Sheets
Here are some additional tips to make working with dates in Google Sheets a breeze:
Autofill for Sequential Dates: If you need to enter a series of consecutive dates, like daily sales figures, you can leverage autofill. Enter the starting date in a cell, then drag the corner of the cell down to fill the remaining cells. Google Sheets will automatically recognize the pattern and populate subsequent cells with the corresponding dates.
Relative Date Calculations: Google Sheets supports relative date calculations. For instance, to find the date 30 days from a specific date in cell A1, you can use the formula =A1+30. This formula adds 30 days to the date in cell A1.
Conclusion
Conquering dates in Google Sheets is now within your grasp! By utilizing the methods outlined above, you can efficiently incorporate dates into your spreadsheets, ensuring accuracy and streamlining your workflow. Remember, consistency in date formats and leveraging formulas can save you time and effort in the long run. So, go forth and conquer your spreadsheets with newfound date mastery!
Say goodbye to tedious data exports! 🚀
Are you tired of spending hours manually exporting CSVs from different tools and importing them into Google Sheets?
StackIt is a data connector for Google Sheets that connects your favorite SaaS tools to Google Sheets automatically. You can get data from these platforms into Google Sheets automatically to build reports that update automatically.
Bid farewell to tedious exports and repetitive tasks. With StackIt, you can add 1 additional day to your week. Try StackIt out for free or schedule a demo.
FAQs
Can I format the date display in Google Sheets?
Can I format the date display in Google Sheets?
How do I copy a date format to other cells?
How do I copy a date format to other cells?
Is there a way to automatically update a date when I change another value in the spreadsheet?
Is there a way to automatically update a date when I change another value in the spreadsheet?
Automatic Data Pulls
Visual Data Preview
Set Alerts
other related blogs

Try it now